How to Apply Image Types
Batch apply image links (#xxx format) from the table to corresponding layers in Figma, such as for fills, borders, or text, to create strong visual effects.

Prepare Your Data
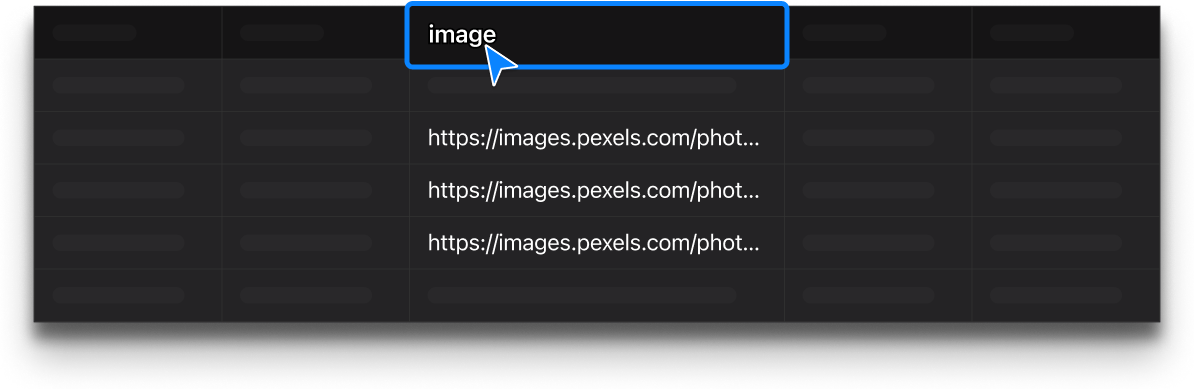
Naming Your Table Header
Name your column for image type data with a title, such as “image”.
Prepare Your Data
Import Data into the Plugin and Create Your Design
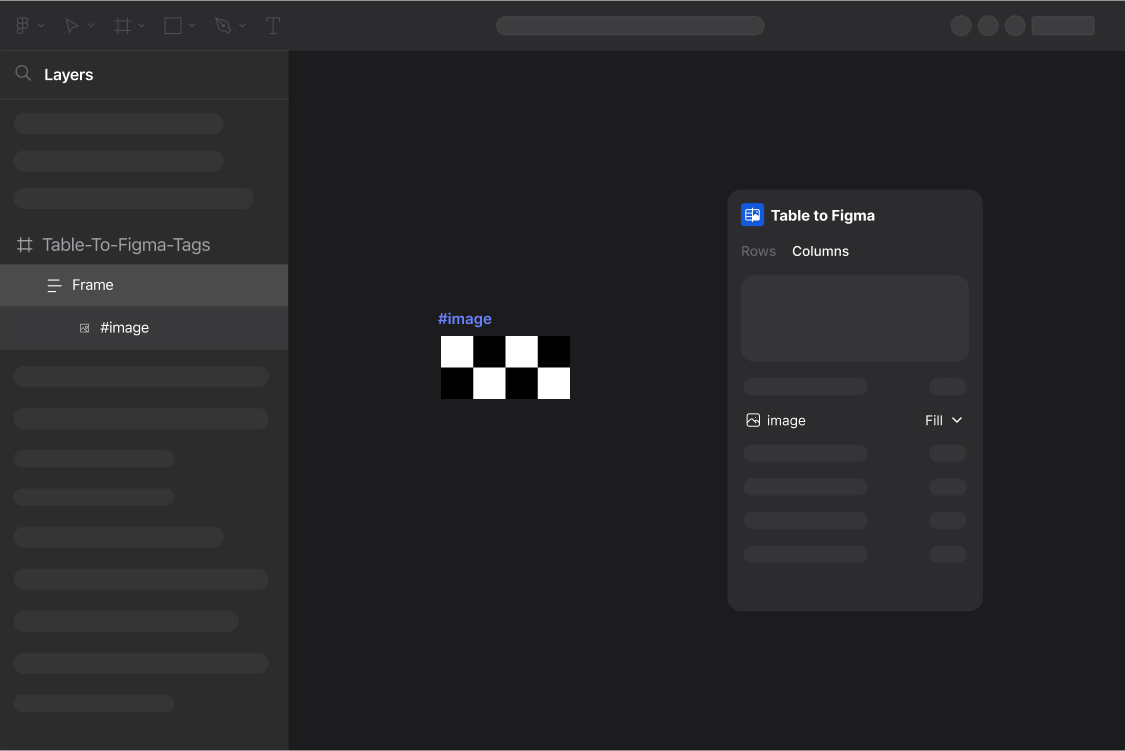
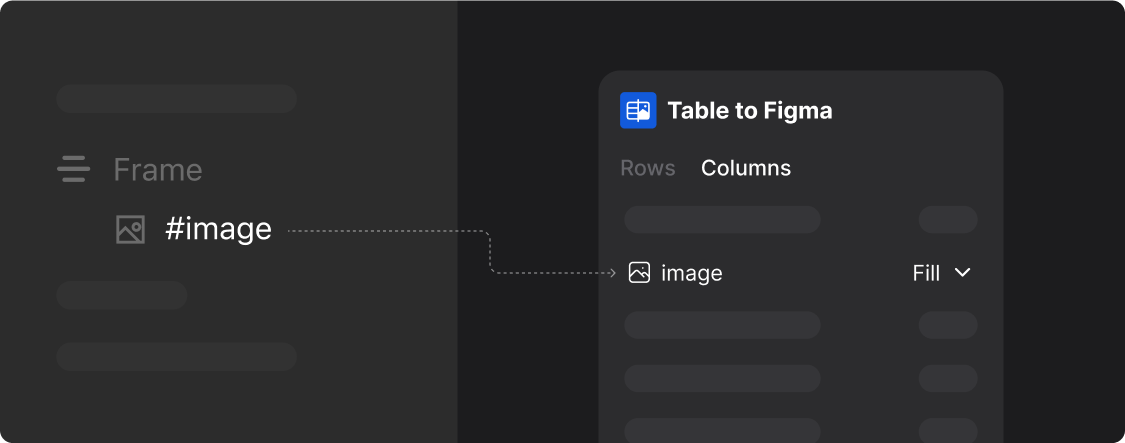
Open Table to Figma, import your data, then switch to the column properties. In Figma, prepare your layers for application. Your preparation should look as shown below:
Step One
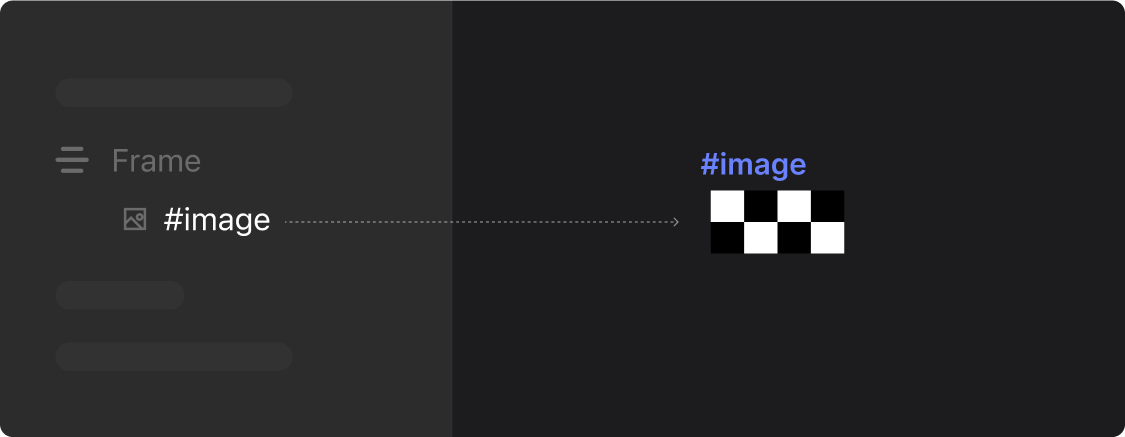
Binding Layers
In your Figma file layers: Simply name your layers using the format #ColumnName to bind the corresponding layer’s properties, as shown below:
Step Two
Select Column Properties
In the Table To Figma plugin, you can set the image property to “Text, Stroke, or Fill” in the column properties panel.
Step Three
Generate Results
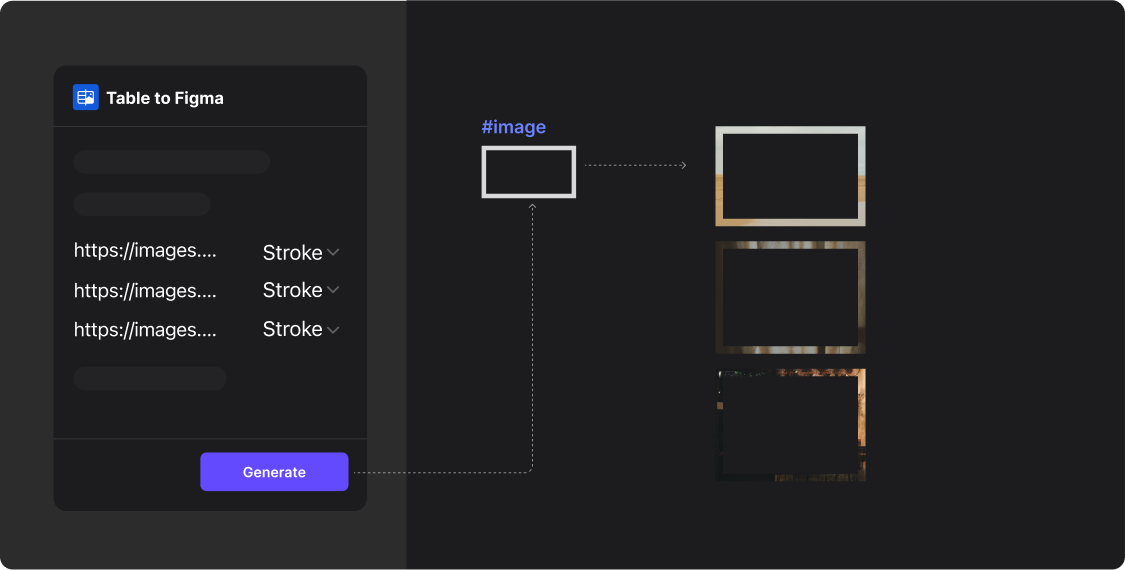
With layers selected and column properties set to an image, click the “Generate” button in the Table To Figma plugin to fill the layer with the image style, as shown below:

With layers selected and column properties set to an image, click the “Generate” button in the Table To Figma plugin to apply the image style to borders, as shown below: