How to Apply Multi-Select Types
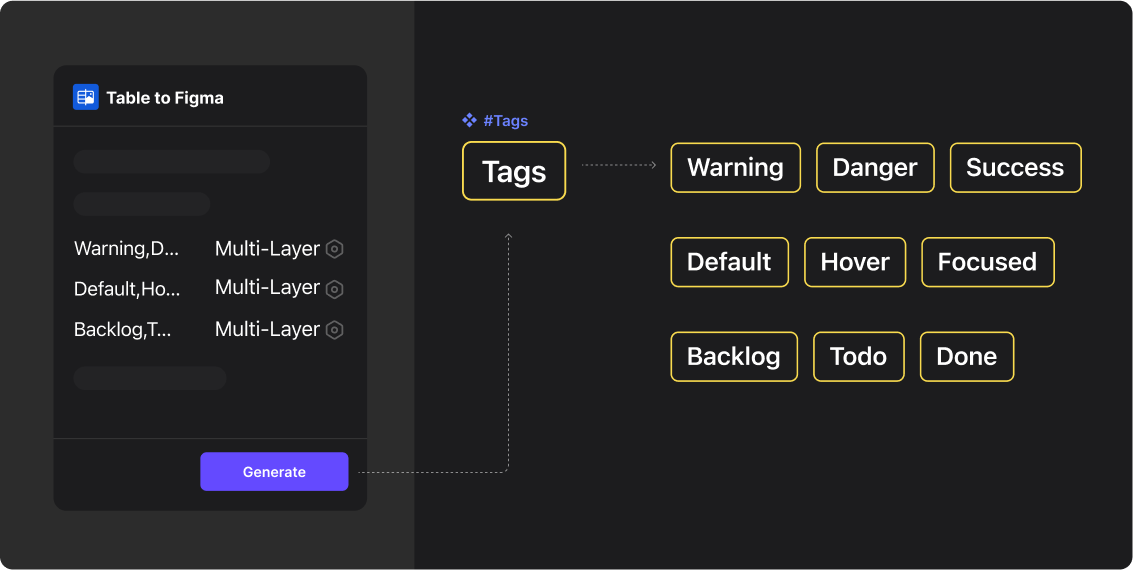
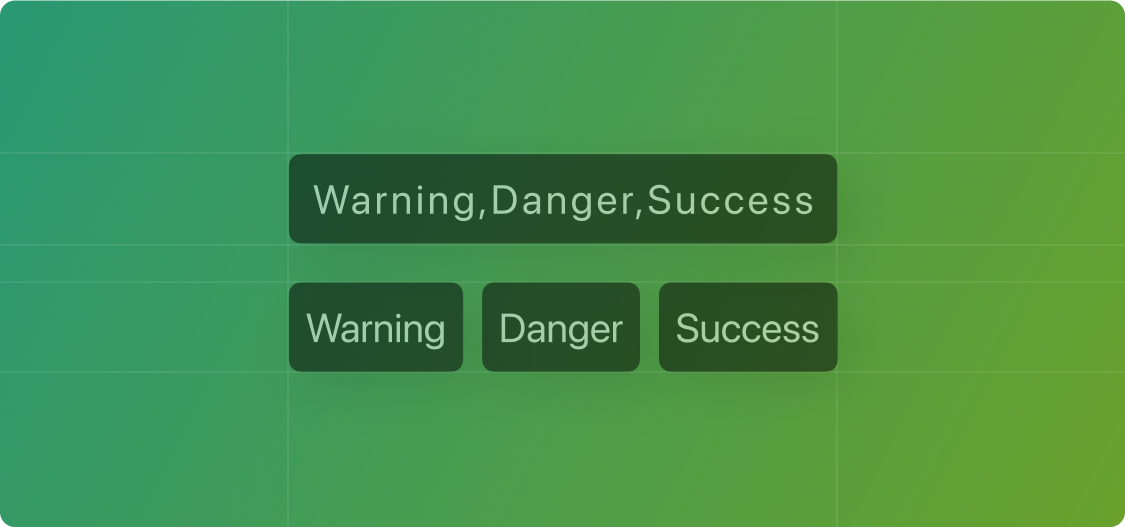
Multi-select type data can be generated in two formats: one is connecting multiple tags with hyphens, and the other is generating each tag separately.
Prepare Your Data
Naming Your Table Header
Label your column for tags, such as “Tags”. Note, multi-select type values must be connected with commas, like “Warning,Danger,Success”.

Prepare Your Data
Import Data into the Plugin and Create Your Design
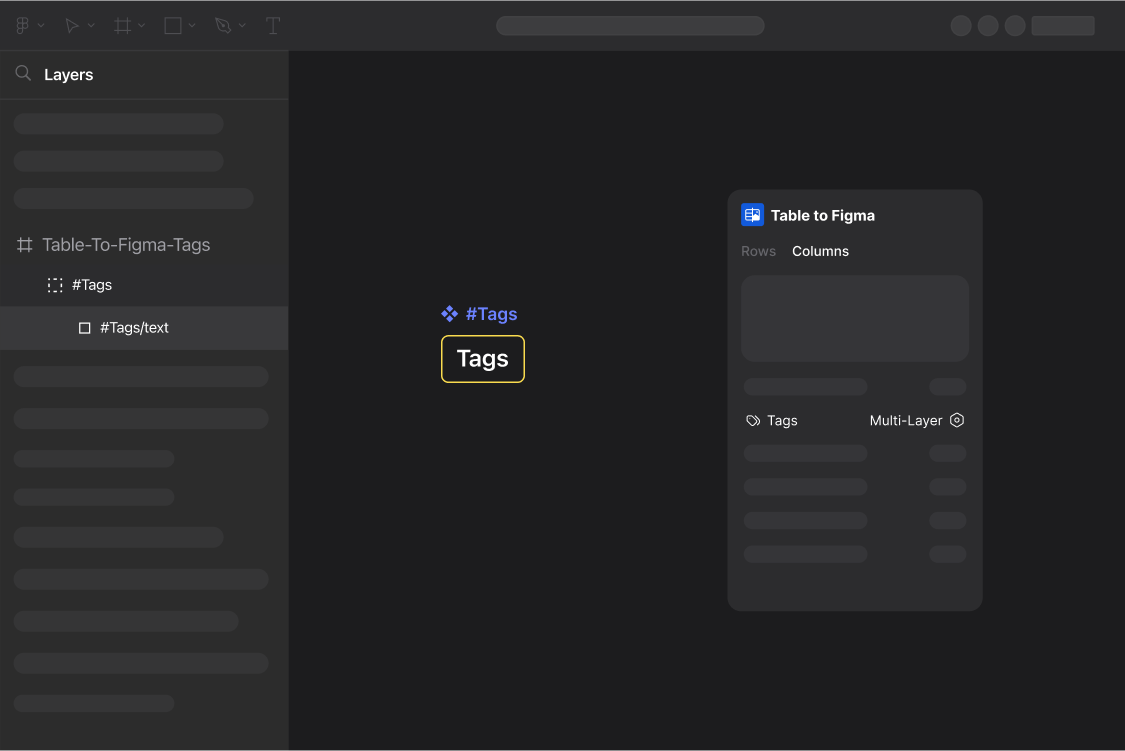
Open Table to Figma and import your data. Then switch to the column properties. In Figma, get your layers ready for application. Your preparation should look as shown below:
Step One
Binding Layers
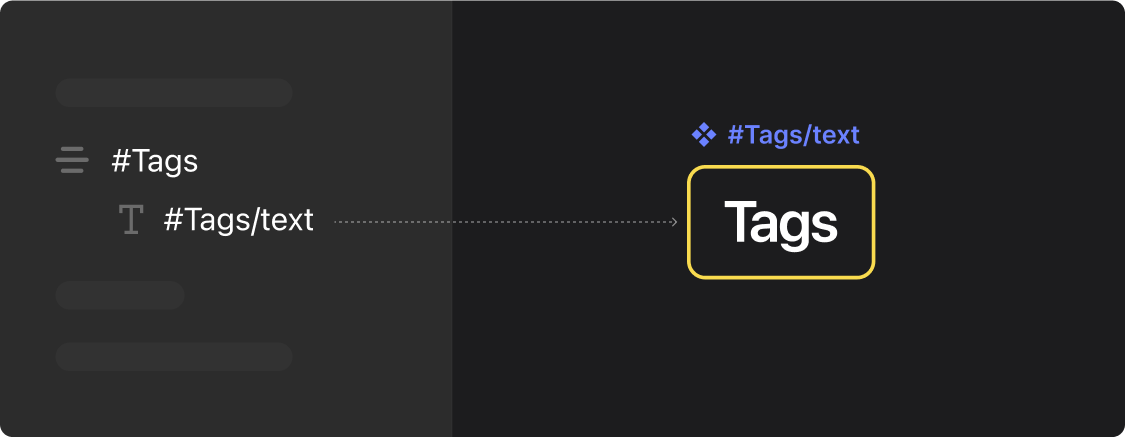
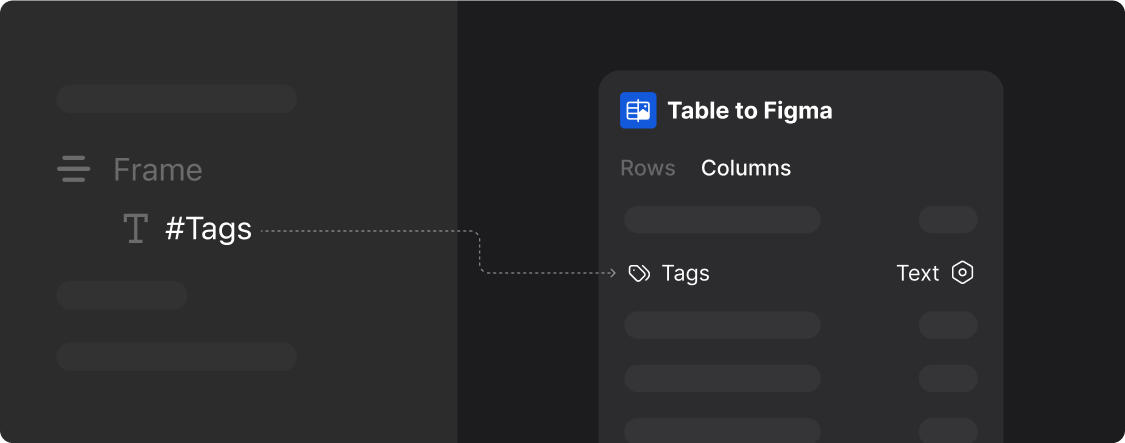
If you want to create long Tags combined with hyphens, name your layers using the format #ColumnName.
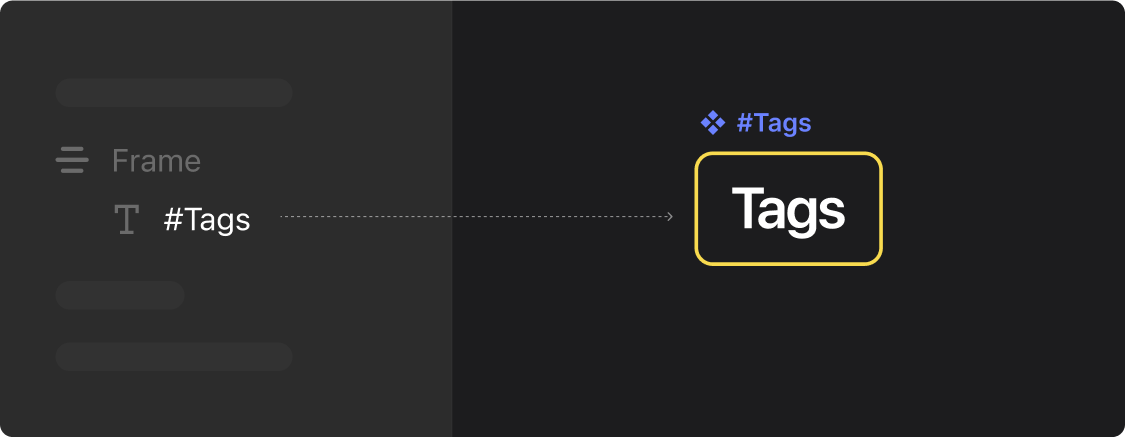
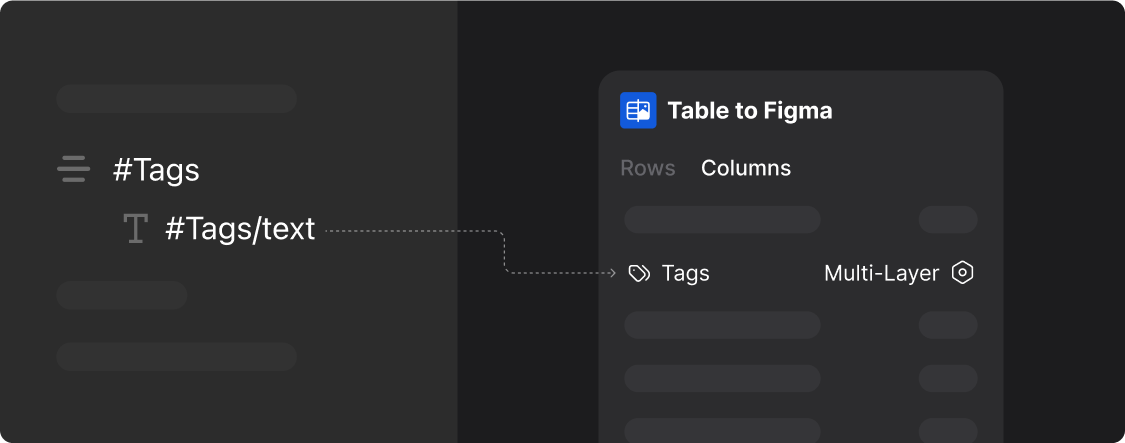
If you want to create multiple separate Tags, name your layers using the format #ColumnName(Parent) -> #ColumnName/Text(Child).
Step Two
Select Column Properties
If you want to create long Tags combined with hyphens, set the content to Text format in the plugin’s column properties.
If you want to create multiple separate Tags, set the content to Multi-Layer format in the plugin’s column properties.
Step Three
Generate Results
With your layers selected and the column properties set to “Text”, click the “Generate” button in the Table To Figma plugin to generate tags in the long hyphen-connected Tags format, as shown below:
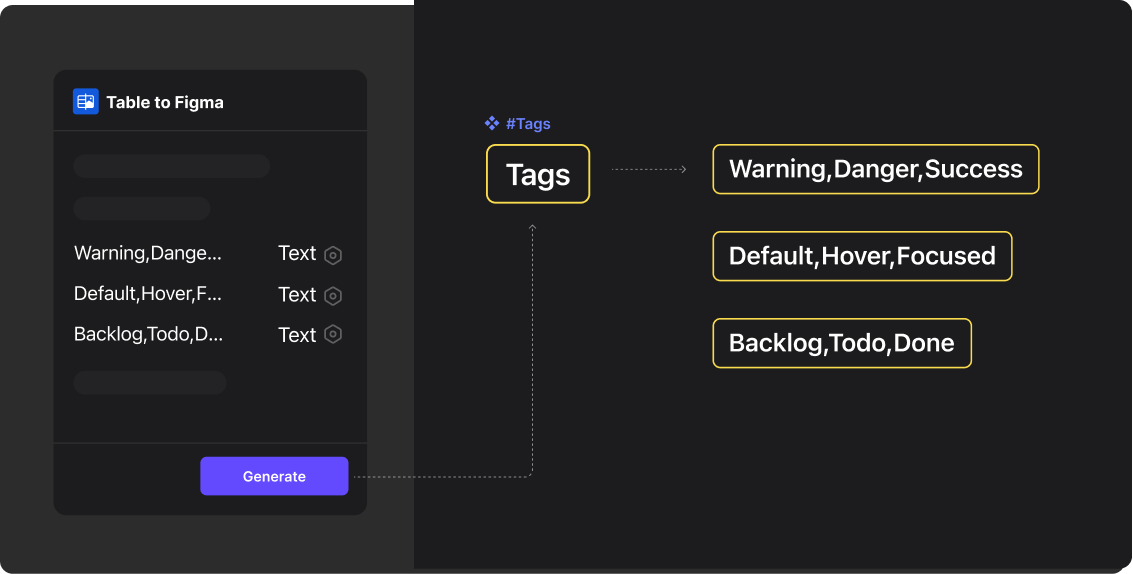
With your layers selected and the column properties set to “Multi-Layer”, click the “Generate” button in the Table To Figma plugin to generate tags in the multiple Tags format, as shown below:
